Master the Art of Poolish Pre-Ferment | An Artisan Bread Recipe
Baking your own bread is a hugely rewarding experience, but many recipes, like mine, call for a sourdough starter, which can be intimidating for beginners. The good news is that you don't need a sourdough starter to make great bread. My Poolish Artisan Bread Recipe uses a poolish preferment, which is easy to make and creates a delicious, complex flavor in the final loaf. The poolish preferment is simply a mixture of flour, water, and a small amount of yeast, which is left to ferment overnight. Mix the poolish with more flour, water, and salt the next day, then shape and bake the dough. The result is a beautiful, crusty loaf that softens up after being baked with a soft, chewy crumb and a depth of flavor that will have you reaching for another slice. Try this recipe and impress your family and friends with your newfound bread-baking skills!
Poolish preferment is a type of pre-ferment used in bread baking that originated in Poland in the early 19th century. It was named after the French bakers who brought the technique to Poland, and it quickly became a popular method for producing high-quality bread. The poolish preferment is a simple mixture of flour, water, and yeast that is left to ferment overnight, which allows the yeast to develop and release flavor compounds that enhance the taste and aroma of the final loaf. Over time, the poolish preferment has become a staple in bread baking and is now used by bakers all over the world to create delicious artisanal bread.
Here’s Why You’ll Love This Recipe
It is so easy to make, and the flavor that the poolish adds is delicious!
Scoring works excellently on the dough before baking, so have fun with the designs.
You can customize this loaf and add yummy flavorings inside the dough, like rosemary and garlic!

Master the Art of Poolish Pre-Ferment | An Artisan Bread Recipe
Ingredients
Instructions
- Begin by prepping your poolish the night before making your dough. This is super easy and doesn't take five minutes to assemble.
- Mix the flour, water, yeast, and honey in a bowl, then let it sit for ten minutes.
- Transfer to the refrigerator overnight for at least 12 hours.
- You can watch my reel (click here) to see what the poolish looks like out of the fridge the next day. This reel also shows you what the dough should look like at the end of mixing.
- Place the poolish into the bowl of your stand mixer and the warm water and mix until combined.
- Add the remaining ingredients and let your dough mix on medium to low speed using a dough hook for ten minutes until it goes from scraggy to sticky and then smooth.
- Transfer the dough into a container with a tight lid and set it aside until it has doubled in size. This can take 1-2 hours, depending on the temperature in your home.
- Once it has doubled, lightly flour the dough's top and flip it onto your counter.
- Shape the dough into either a boule or a bastard shape, and then put it into a floured banneton.
- Let the dough rest in the banneton for 15 minutes, and then stitch the dough. You can watch my reel (click here) of me stitching bread dough.
- Let the dough rest in the banneton for 30 minutes longer before baking.
- Preheat the oven to 450°F and set a sheet tray onto the lower rack with ice tossed onto it.
- When the oven has come to temperature, flip the dough onto a parchment-lined baking sheet, score it, and place it on the middle rack.
- Bake the bread for precisely 30 minutes.
- Remove and let cool before enjoying, if you can wait!
Notes
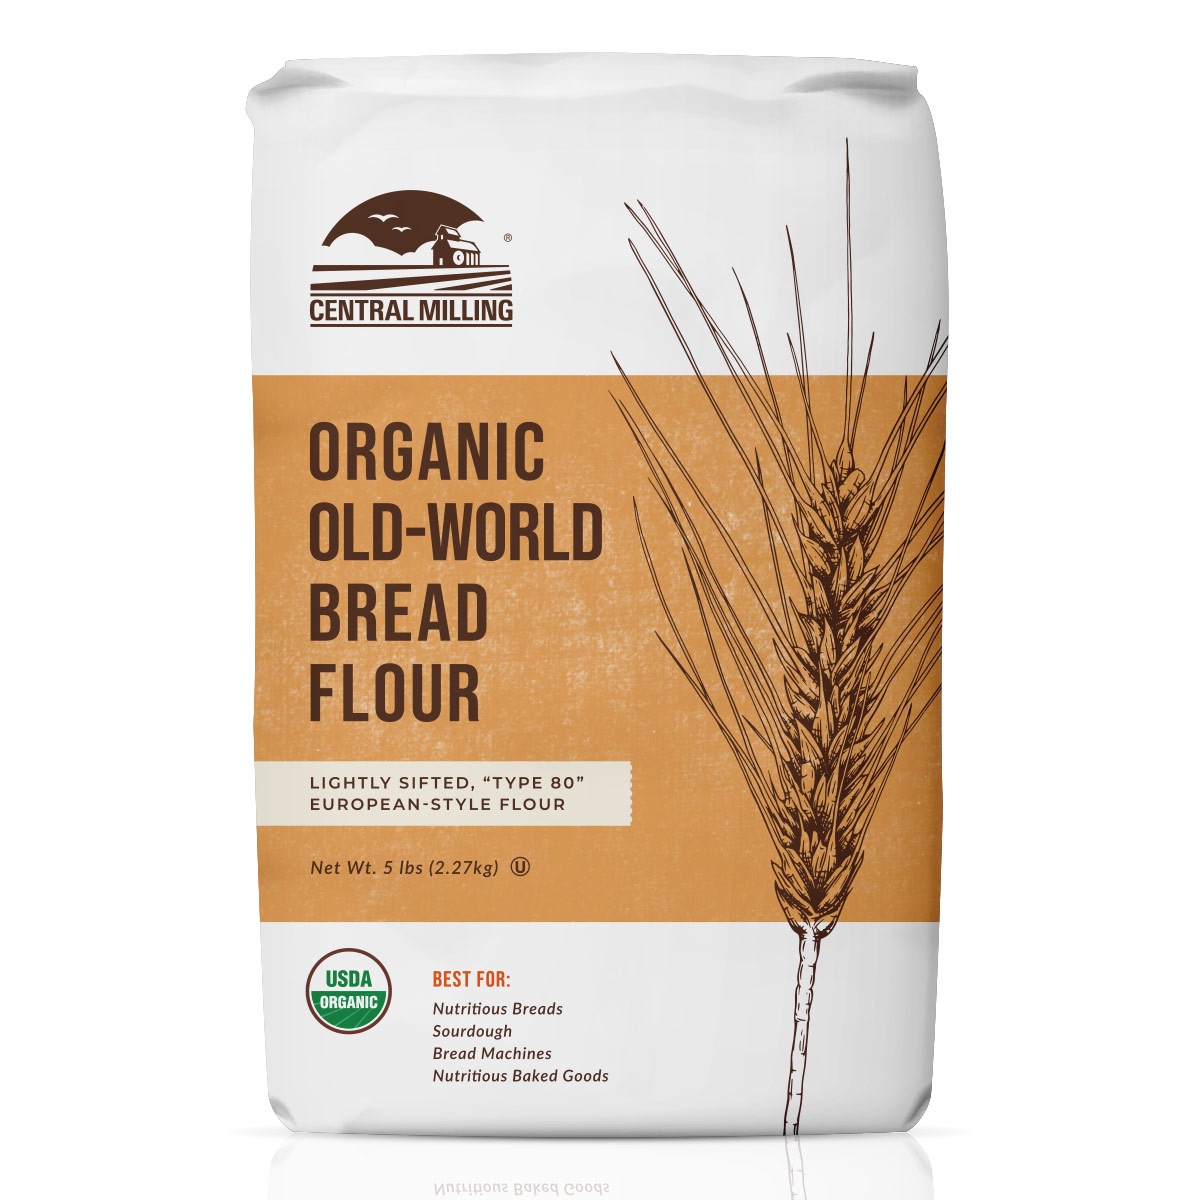
Bread Flour: Different bread flour types have varying water absorption capacities, meaning some flours may require more or less water than the recipe states. Knowing your flour's characteristics and adjust the water content accordingly to achieve the desired dough consistency.
Size and Shape: You can shape this sourdough into a boule or battard. You can even make smaller mini loaves for a fun twist!
Nutrition Facts
Calories
116.7Fat
0.69 gSat. Fat
0.11 gCarbs
24.34 gFiber
1.89 gNet carbs
22.46 gSugar
1.01 gProtein
4.07 gSodium
253.95 mgCholesterol
0 mgPlease note that the nutritional information on this website is calculated using online tools and may need to be more accurate. Use it as a rough guide only. We cannot be held responsible for any loss or damage caused by relying solely on this data. You are responsible for ensuring that any nutritional information you use is accurate and useful. For more information, click here.


Discover the Magnifique Claypot Oven, the must-have kitchen appliance for busy moms and home cooks! Enjoy healthy, flavorful meals with ease thanks to its modern claypot technology. Save time, simplify meal prep, and elevate your cooking. Find out why this oven is the perfect addition to your kitchen today!