Make Simple, Easy, Delicious Everyday Sourdough Bread | Step-by-step Recipe
Making homemade sourdough bread doesn’t have to be a daunting task that only professional bakers can do! In fact, it can be pretty straightforward with the proper guidance and knowledge. My journey began over two years ago when I decided to dive in headfirst and try baking beautiful, delicious sourdough loaves. After many trial-and-error moments and countless hours spent tinkering in the kitchen, I am excited to share what I’ve learned so that you can make the perfect Everyday Sourdough Bread every week.
No matter your baking experience level, this sourdough bread recipe is sure to be a crowd-pleaser. My tried and tested methods have always yielded incredibly satisfying results. Not only will it add a delicious homemade flair to any meal, but the warm scent of freshly baked bread wafting through the kitchen is an indescribable delight. Plus, kneading the dough can be quite therapeutic, too! From start to finish, this Sourdough Bread Recipe takes two days to make, so you'll need some patience for it to turn out perfectly. But trust me when I say this easy recipe is worth all the work in the end. It is sourdough at its best! So now it's time for you to take a leap of faith and get baking. I guarantee you won't regret it.
Here’s Why You’ll Love This Recipe
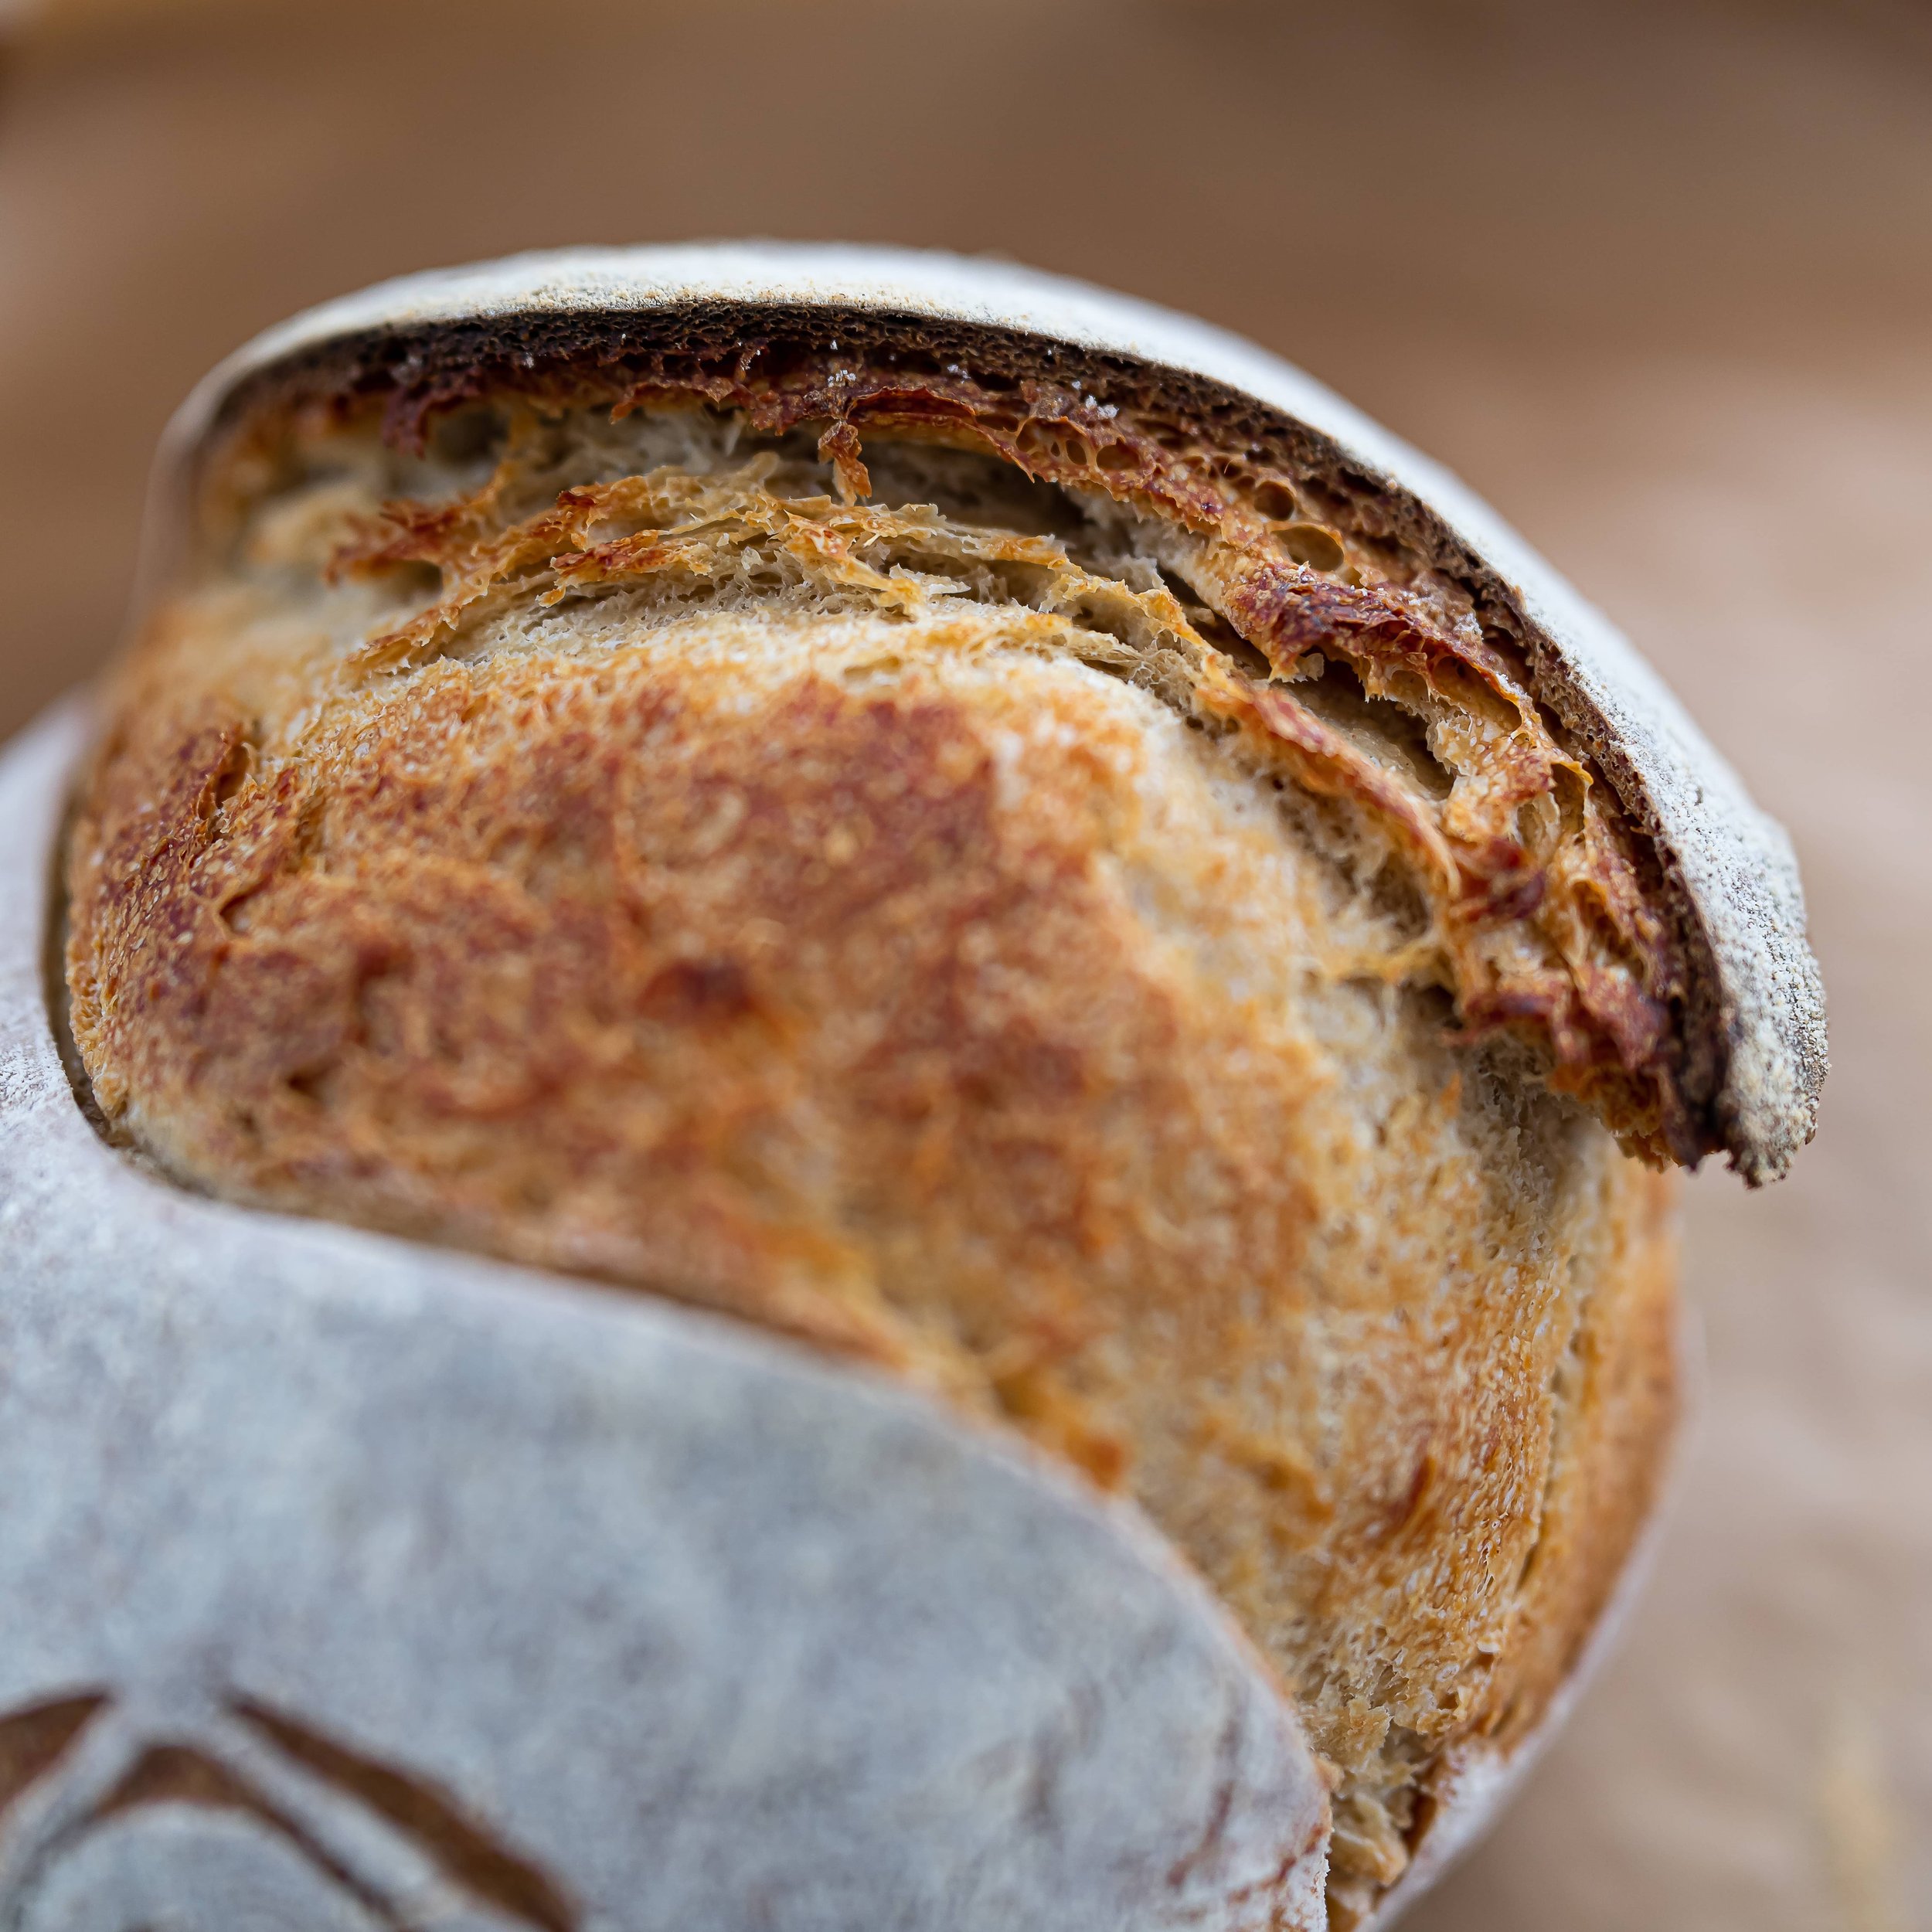
The crust is perfectly crusty.
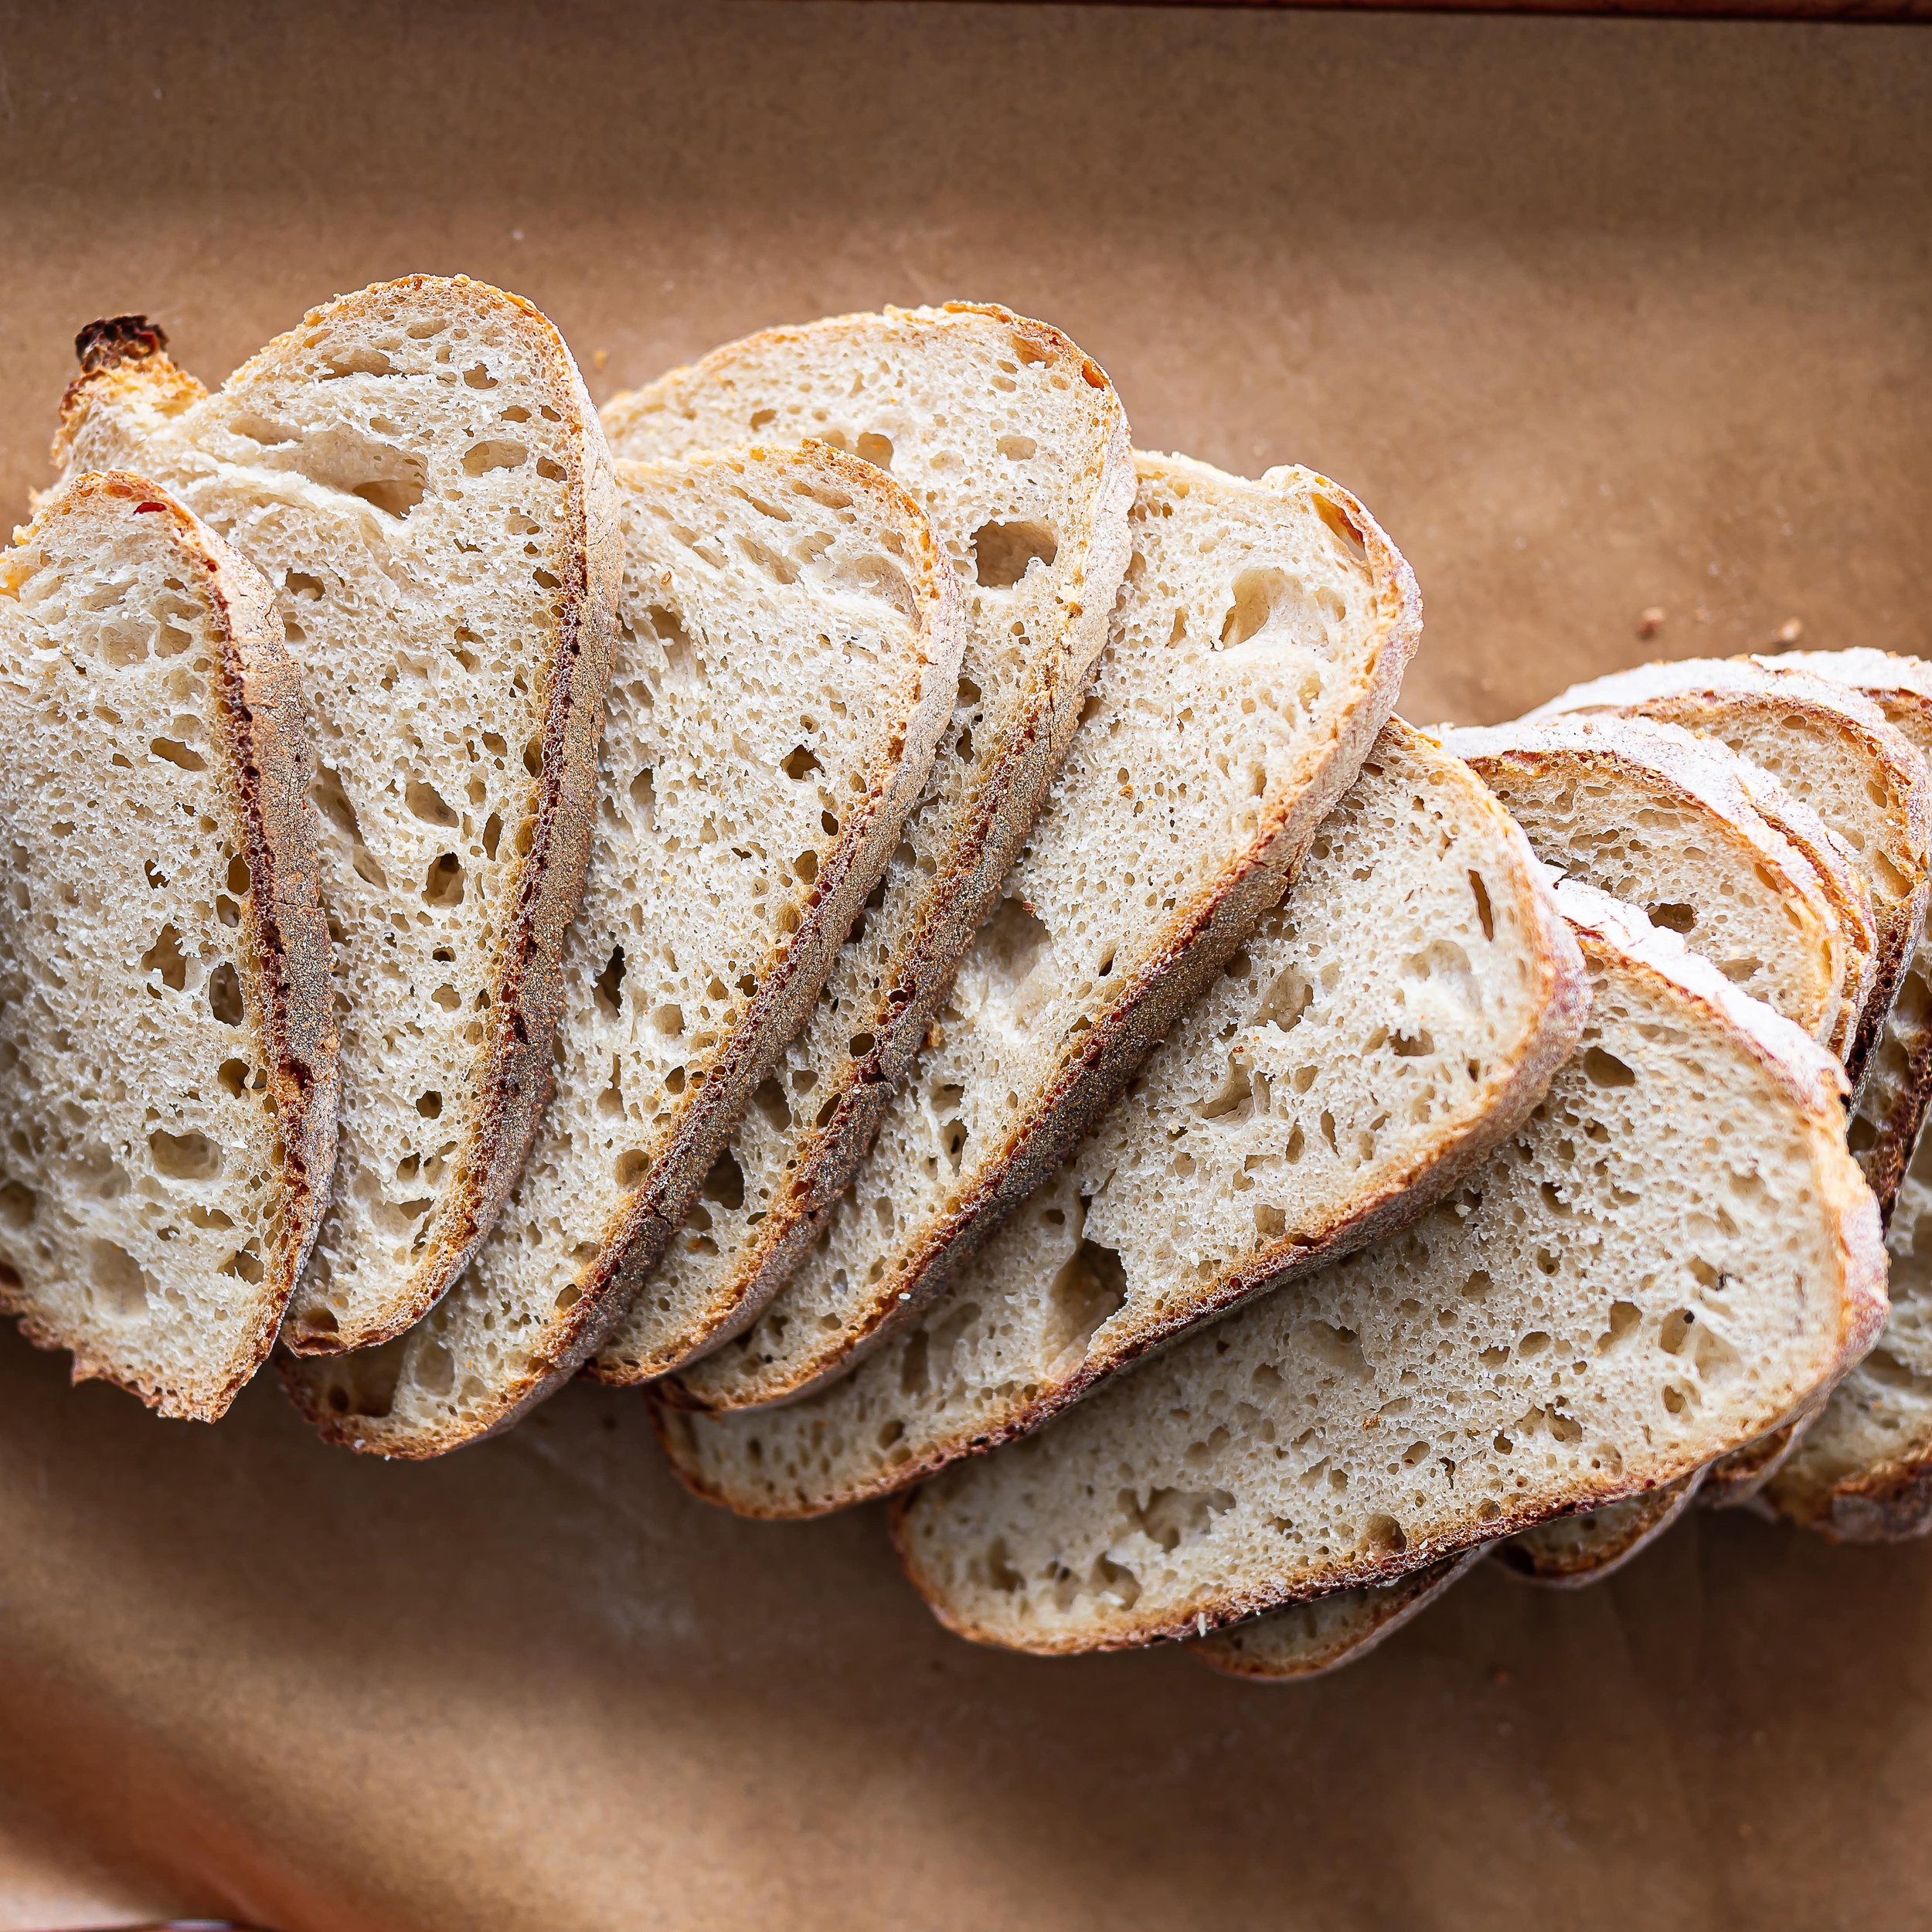
It tastes incredible, and the open crumb is perfection.
You can easily add flavors to this dough, like cheese, herbs, and even olives.

Make Simple, Easy, Delicious Everyday Sourdough Bread | Step-by-step Recipe
Ingredients
Instructions
- Begin by prepping your levain the night before making your dough. This is standard for all of my recipes and yields great bread.
- Mix your Lievito Madre or other types of sourdough starter, like a 100% hydration starter, with the water and flour until a dough forms.
- Place the levain into a container with a tight lid.
- Leave it overnight to proof until it is doubled or tripled. This may take longer in winter, so if it still looks sluggish in the morning, you can pop it in the oven with a light on for about an hour or so or until it has changed in volume before adding it to your dough.
- Choose either option one or option two below before beginning your dough.
- I have two easy and foolproof methods for making any sourdough bread. You can use this option one method or option two below. Choose your favorite and go from there!
- Place all the levain and dough ingredients directly into the bowl of your stand mixer.
- Turn your mixer on a low speed to move the dough, then increase the speed slightly. Let your dough knead in your mixer with the dough hook for precisely ten minutes or until the dough goes from scraggly to sticky to smooth. This reel of mine (click here) shows the changes the dough goes through about halfway through the video.
- After ten minutes, remove your dough from the stand mixer using damp hands and place it into a straight-sided container with a tight lid.
- Let your dough rest in the container in a warm spot until it has doubled in size. If you find it helpful to compare and know when your dough has finished bulk fermenting (also known as bulk proofing), you can take a before photo.
- Once your dough has doubled, lightly flour the top of it inside your container and tip it out onto a clean countertop.
- Laminate the dough into a thin rectangle. This will help redistribute the air bubbles the yeasts have created and give you a more even crumb when your bread has finished baking. For a visual of the lamination process, you can watch this reel of mine (click here), which shows you how I laminated before adding in my inclusions. This recipe doesn't contain inclusions, so pretend they're not there!
- When your dough is laminated, roll it back up, fold it like a letter, and then put it into a short log. You can roll it up in any method that feels natural to do this step.
- Let the dough rest on your countertop with a tea towel, covering it for 15 minutes.
- After 15 minutes, lightly flour the top, flip it upside down on your countertop, and perform the final shaping of your dough. You can watch my reel (click here) and see how I like to shape my loaves.
- Place your dough into a lightly floured banneton and rest for 15 minutes. This step is optional, but I also like to stitch my dough. This helps the dough have a better oven spring! Watch my reel (click here) of me stitching the dough to see how it's done!
- Let your dough rest in your banneton for 30-60 minutes before baking. I do not like cold fermenting my dough overnight. You can read my Instagram post (click here) to learn why!
- Baking time: Set your oven to 480°F, and make sure you have one rack set on the lower portion of your oven with a baking sheet on it and the rack you will place your bread on in the middle of your oven.
- When your oven has come to temperature, flip your dough onto a parchment-lined room-temperature baking sheet and score your bread.
- Place your bread onto the middle rack of the oven and toss two handfuls of ice on the lower rack where you have the pre-heated sheet tray; be careful not to let the ice fall on the oven door as you do so. Alternatively, you can place the ice on the tray as the oven is warming up. Sometimes, I skip or forget to add ice, and my breads still turn out the same! It's all about finding out what works best for you and your oven. Sourdough doesn't have to be complicated to be great!
- Close the oven door and let your bread bake at that temperature for 20 minutes.
- After 20 minutes, reduce the heat to 395°F and continue to bake your bread for 30 minutes longer.
- Let your bread rest until thoroughly cooled before cutting to allow the crumb to set fully, if possible!
- I have two easy and foolproof methods for making any sourdough bread. You can use this option two method or option one above. Choose your favorite and go from there! I prefer this method!
- Place all the levain and dough ingredients directly into the bowl of your stand mixer.
- Turn your mixer on a low speed to move the dough, then increase the speed slightly. Let your dough knead in your mixer with the dough hook for about a minute or until the dough goes from scraggly to sticky. This reel of mine (click here) shows the changes the dough goes through about halfway through the video. You are looking for the dough to go halfway from scraggy to sticky but not smooth. This entire process takes about 2 minutes.
- Remove your dough from the stand mixer using damp hands and place it into a straight-sided container with a tight lid.
- Let your dough rest in the container in a warm spot for 30 minutes.
- After 30 minutes, perform your first coil or stretch and fold, and let it rest again for another 30 minutes. Perform a second coil fold and let it rest again for 30 minutes before proceeding with the next step.
- Lightly flour the top of your dough and flip it out onto your countertop. Laminate the dough into a thin rectangle. This will help redistribute the air bubbles the yeasts have created. For a visual of the lamination process, you can watch this reel of mine (click here), which shows you how I laminated before adding in my inclusions. This recipe doesn't contain inclusions, so pretend they're not there!
- When your dough is laminated, roll it back up, fold it like a letter, and then into a short log. You can roll it up in any method that feels natural to do this step.
- Place the dough back into the container and let it rest for 30 minutes before performing a third coil or stretch and fold. Rest and repeat to complete a fourth and final coil or stretch and fold. Cover the container and let the dough continue rising until it has doubled.
- Once your dough has doubled, lightly flour the top of it inside your container and tip it out onto a clean countertop.
- Start performing the first pre-shape of your dough. This will help tighten up the dough to hold its shape easier when you do your final shaping. Cover the dough with a towel for 15 minutes.
- After 15 minutes, perform a final shaping on your dough. You can watch my reel (click here) and see how I like to shape my loaves. There is no right or wrong way to shape sourdough, so do what feels natural. You want the smooth surface to be nice and tight but not so tight that the glutens break apart.
- Place your dough into a lightly floured banneton and rest for 15 minutes. This step is optional, but I also like to stitch my dough. This helps the dough have a better oven spring! Watch my reel (click here) of me stitching the dough to see how it's done!
- Let your dough rest in your banneton for 30-60 minutes before baking. I do not like cold fermenting my dough overnight. You can read my Instagram post (click here) to learn why!
- Baking time: Set your oven to 480°F, and make sure you have one rack set on the lower portion of your oven with a baking sheet on it and the rack you will place your bread on in the middle of your oven.
- When your oven has come to temperature, flip your dough onto a parchment-lined room-temperature baking sheet and score your bread.
- Place your bread onto the middle rack of the oven and toss two handfuls of ice on the lower rack where you have the pre-heated sheet tray; be careful not to let the ice fall on the oven door as you do so. Alternatively, you can place the ice on the tray as the oven is warming up. Sometimes, I skip or forget to add ice, and my breads still turn out the same! It's all about finding out what works best for you and your oven. Sourdough doesn't have to be complicated to be great!
- Close the oven door and let your bread bake at that temperature for 20 minutes.
- After 20 minutes, reduce the heat to 395°F and continue to bake your bread for 30 minutes longer.
- Let your bread rest until thoroughly cooled before cutting to allow the crumb to set fully, if possible!
Notes
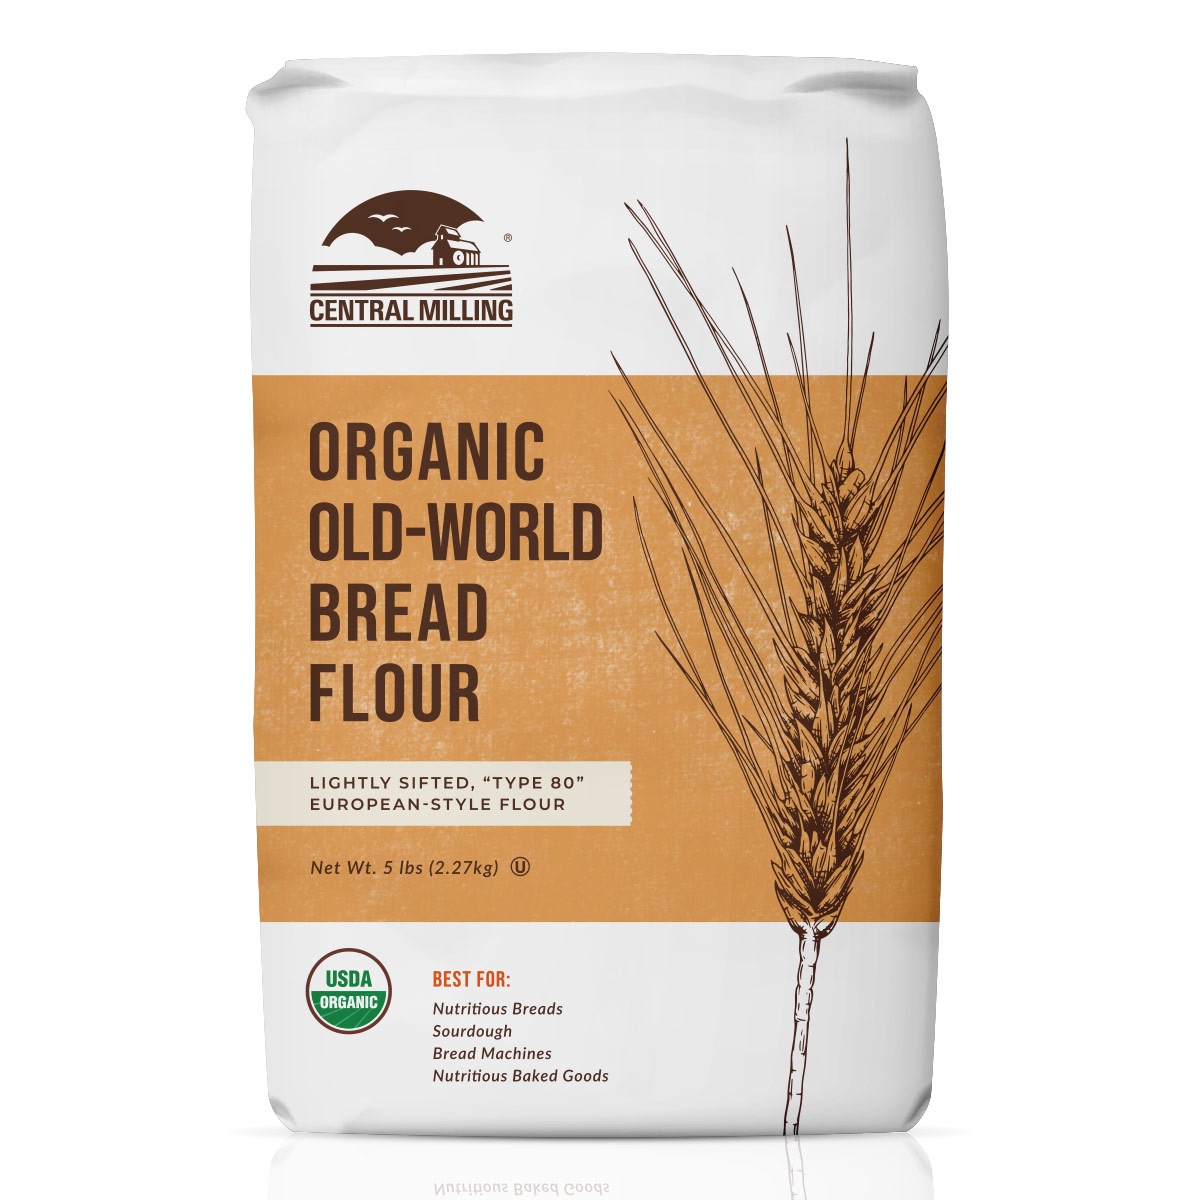
Bread Flour: Different bread flour types have varying water absorption capacities, meaning some flours may require more or less water than the recipe states. Knowing your flour's characteristics and adjusting the water content accordingly is essential to achieve the desired dough consistency.
Size and Shape: You can shape this sourdough into a boule or battard. You can even make smaller mini loaves for a fun twist!
Nutrition Facts
Calories
298.15Fat
6.42 gSat. Fat
0.94 gCarbs
51.63 gFiber
4.53 gNet carbs
47.11 gSugar
3.64 gProtein
10.22 gSodium
307.31 mgCholesterol
0 mgPlease note that the nutritional information on this website is calculated using online tools and may need to be more accurate. Use it as a rough guide only. We cannot be held responsible for any loss or damage caused by relying solely on this data. You are responsible for ensuring that any nutritional information you use is accurate and useful. For more information, click here.


Discover the Magnifique Claypot Oven, the must-have kitchen appliance for busy moms and home cooks! Enjoy healthy, flavorful meals with ease thanks to its modern claypot technology. Save time, simplify meal prep, and elevate your cooking. Find out why this oven is the perfect addition to your kitchen today!