Let’s Uncomplicate Sourdough | Mastering The Stand Mixer Method

Introduction
Are you tired of the tedious and time-consuming process of making sourdough bread? Well, fear not! I have a solution that will make the process much easier and faster. Here's how to uncomplicate your sourdough bread by using your stand mixer and making a 50% hydration starter called a Lievito Madre. First, let's talk about the benefits of using a stand mixer. While traditional sourdough bread recipes require a lot of stretching and folding, using a stand mixer can save you time and energy. With a stand mixer, you can let the machine do the work for you and achieve the same results as manual stretching and folding. This is especially helpful for those who may have physical limitations or want to simplify the process.
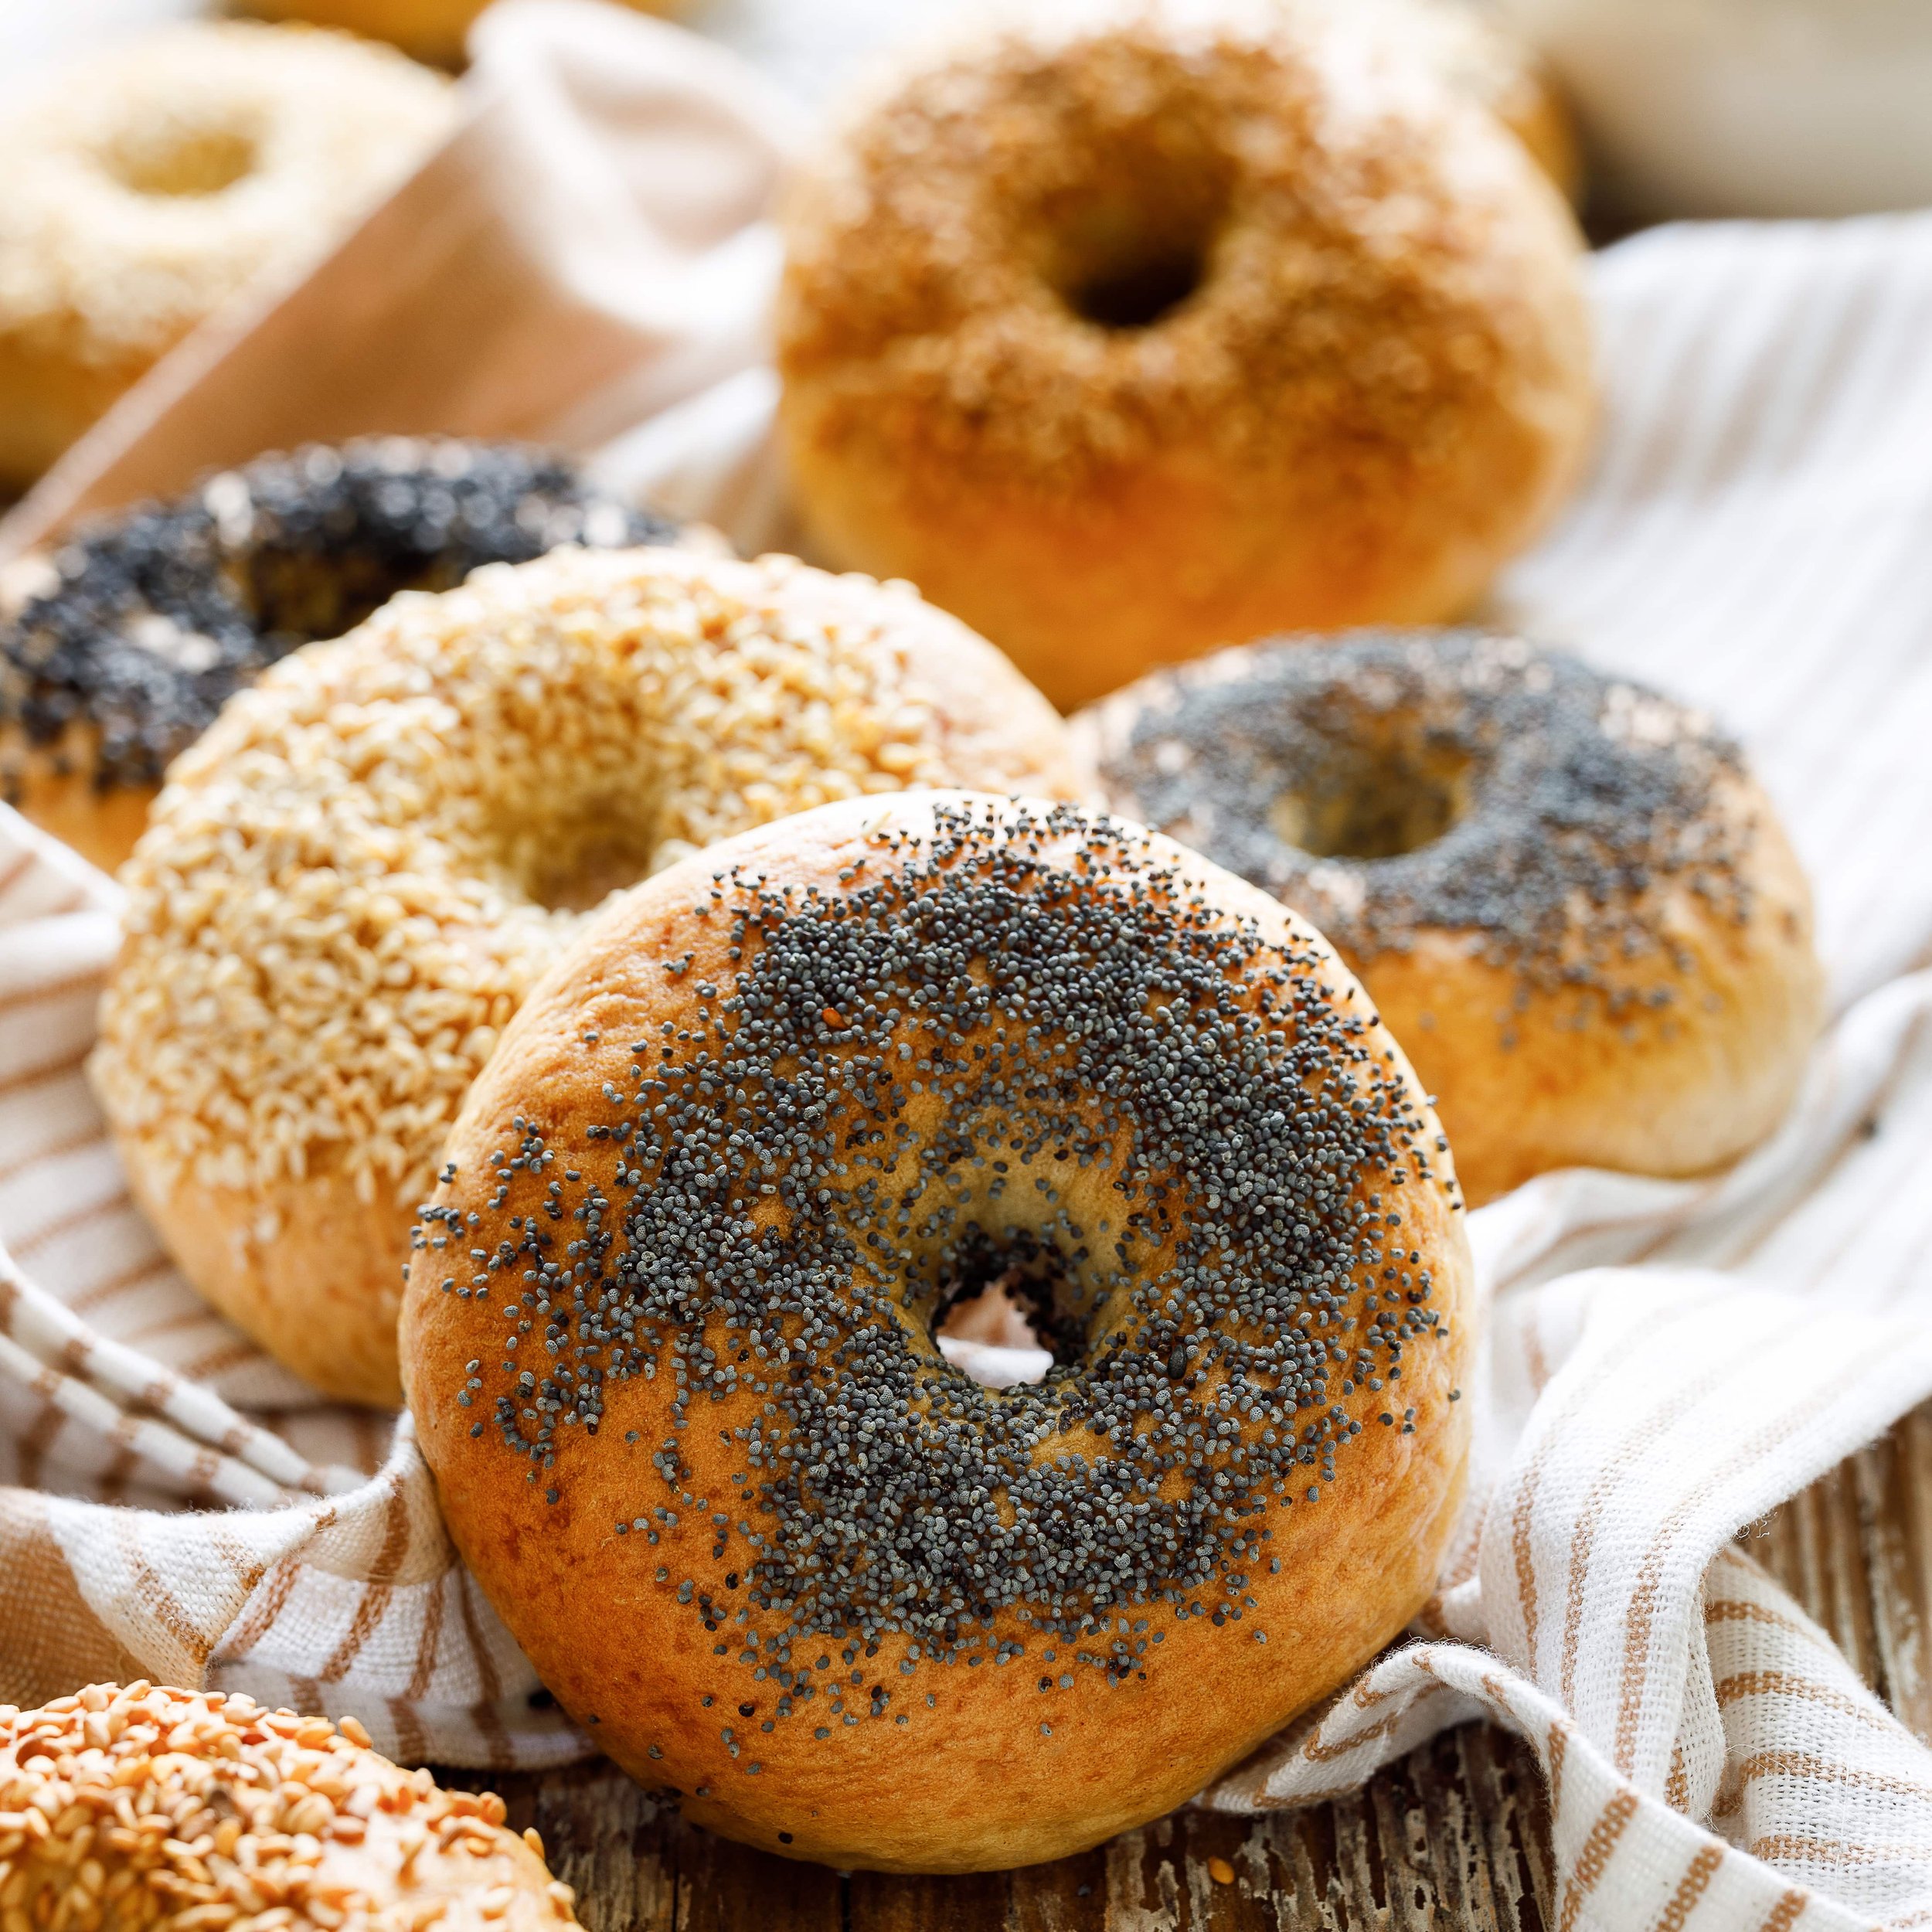
The stand mixer method provides consistent and thorough mixing of the dough, which is crucial for achieving the right texture and structure of the bread. Before I dive into the nitty-gritty details of how to use your stand mixer for sourdough, let's chat about the Lievito Madre sourdough starter. This type of sourdough starter is unique because it is made with a lower hydration level, usually around 50%. This means that it will have a thicker consistency compared to other starters. The benefit of using this type of starter is that it is more stable and can be stored in the fridge for longer periods without needing to be fed as frequently. The lower hydration level also helps to simplify the process of making sourdough bread, as it requires less water and results in a dough that is easier to handle. Additionally, the Lievito Madre starter adds a delicious flavor to your bread that is so unique to this type of starter. To make my Lievito Madre Sourdough Starter, you will need a few simple ingredients, including your chosen flour and water. I go into more detail on this type of starter below, so keep on reading! If you’re interested in entering my monthly giveaway to win a dehydrated stash of my personal Lievito Madre, you can do so over on my Instagram, @arabiansassenach.
The Stand Mixer Method
I have developed a new technique for making delicious sourdough bread that I call "The Stand Mixer Method." This method is intended to simplify the traditional bread-making process, making it easier and more accessible for home bakers. To begin, you will need to knead your dough in a stand mixer using the dough hook attachment for about ten minutes until it becomes smooth and elastic. After that, allow the dough to sit and rise until it has doubled in size.
Next, you'll need to laminate the dough to redistribute the air bubbles and reshape it. Once you have done this, let it rest for about 15 minutes before giving it a final shaping and placing it into a floured banneton. Let it sit in the banneton for another 15 minutes before stitching the dough. Finally, let the dough rest for an additional 30 to 60 minutes before baking it according to the heat directions in the recipe you are using.
This method is perfect for anyone who wants to make delicious sourdough bread at home without all the hassle of traditional methods. With "The Stand Mixer Method," you can quickly achieve great results every time and impress your family and friends with your baking skills. Let’s break this down in easy steps, shall we?
Step 1: Kneading and Rising
1. Attach the dough hook to your stand mixer and add your sourdough ingredients to the bowl. There is no autolyzing, adding salt later in the process, or fussing about this. It is that easy. If you are planning to add inclusions to your dough, like chocolate chips, save those for when you laminate the dough.
2. Set the mixer to a low speed (around 3 on a Kitchenaid mixer) and knead the dough for approximately 10 minutes, or until it becomes smooth and elastic. The dough will go from scraggy to sticky to smooth and no longer stick to the sides of the bowl as it whirls around.
3. Once kneaded, transfer the dough to an airtight container, cover it with the lid, and let it rise in a warm, draft-free area until it doubles. A straight-sided container works best as you can judge the rise better, and feel free to grease the container with some olive oil before placing the dough in there.
Step 2: Laminating and Reshaping
1. Very lightly dust the top of your risen dough and flip it onto a clean countertop.
2. Gather your fingers underneath the dough and gently pull all around to flatten it into a rectangle approximately 1/4 to 1/2 inch thick. You don’t have to be too precise. You’re looking to redistribute the air bubbles for a more even crumb. This process is what we call lamination. Read step 4 for more information on adding inclusions.
3. Fold the laminated dough like a letter, roll it up from the short ends, and let it sit under a tea towel for 15 minutes. This is your pre-shape. A pre-shape is done so that when you perform your final shaping, your dough will have good tension to bloom and open up in the oven after scoring it.
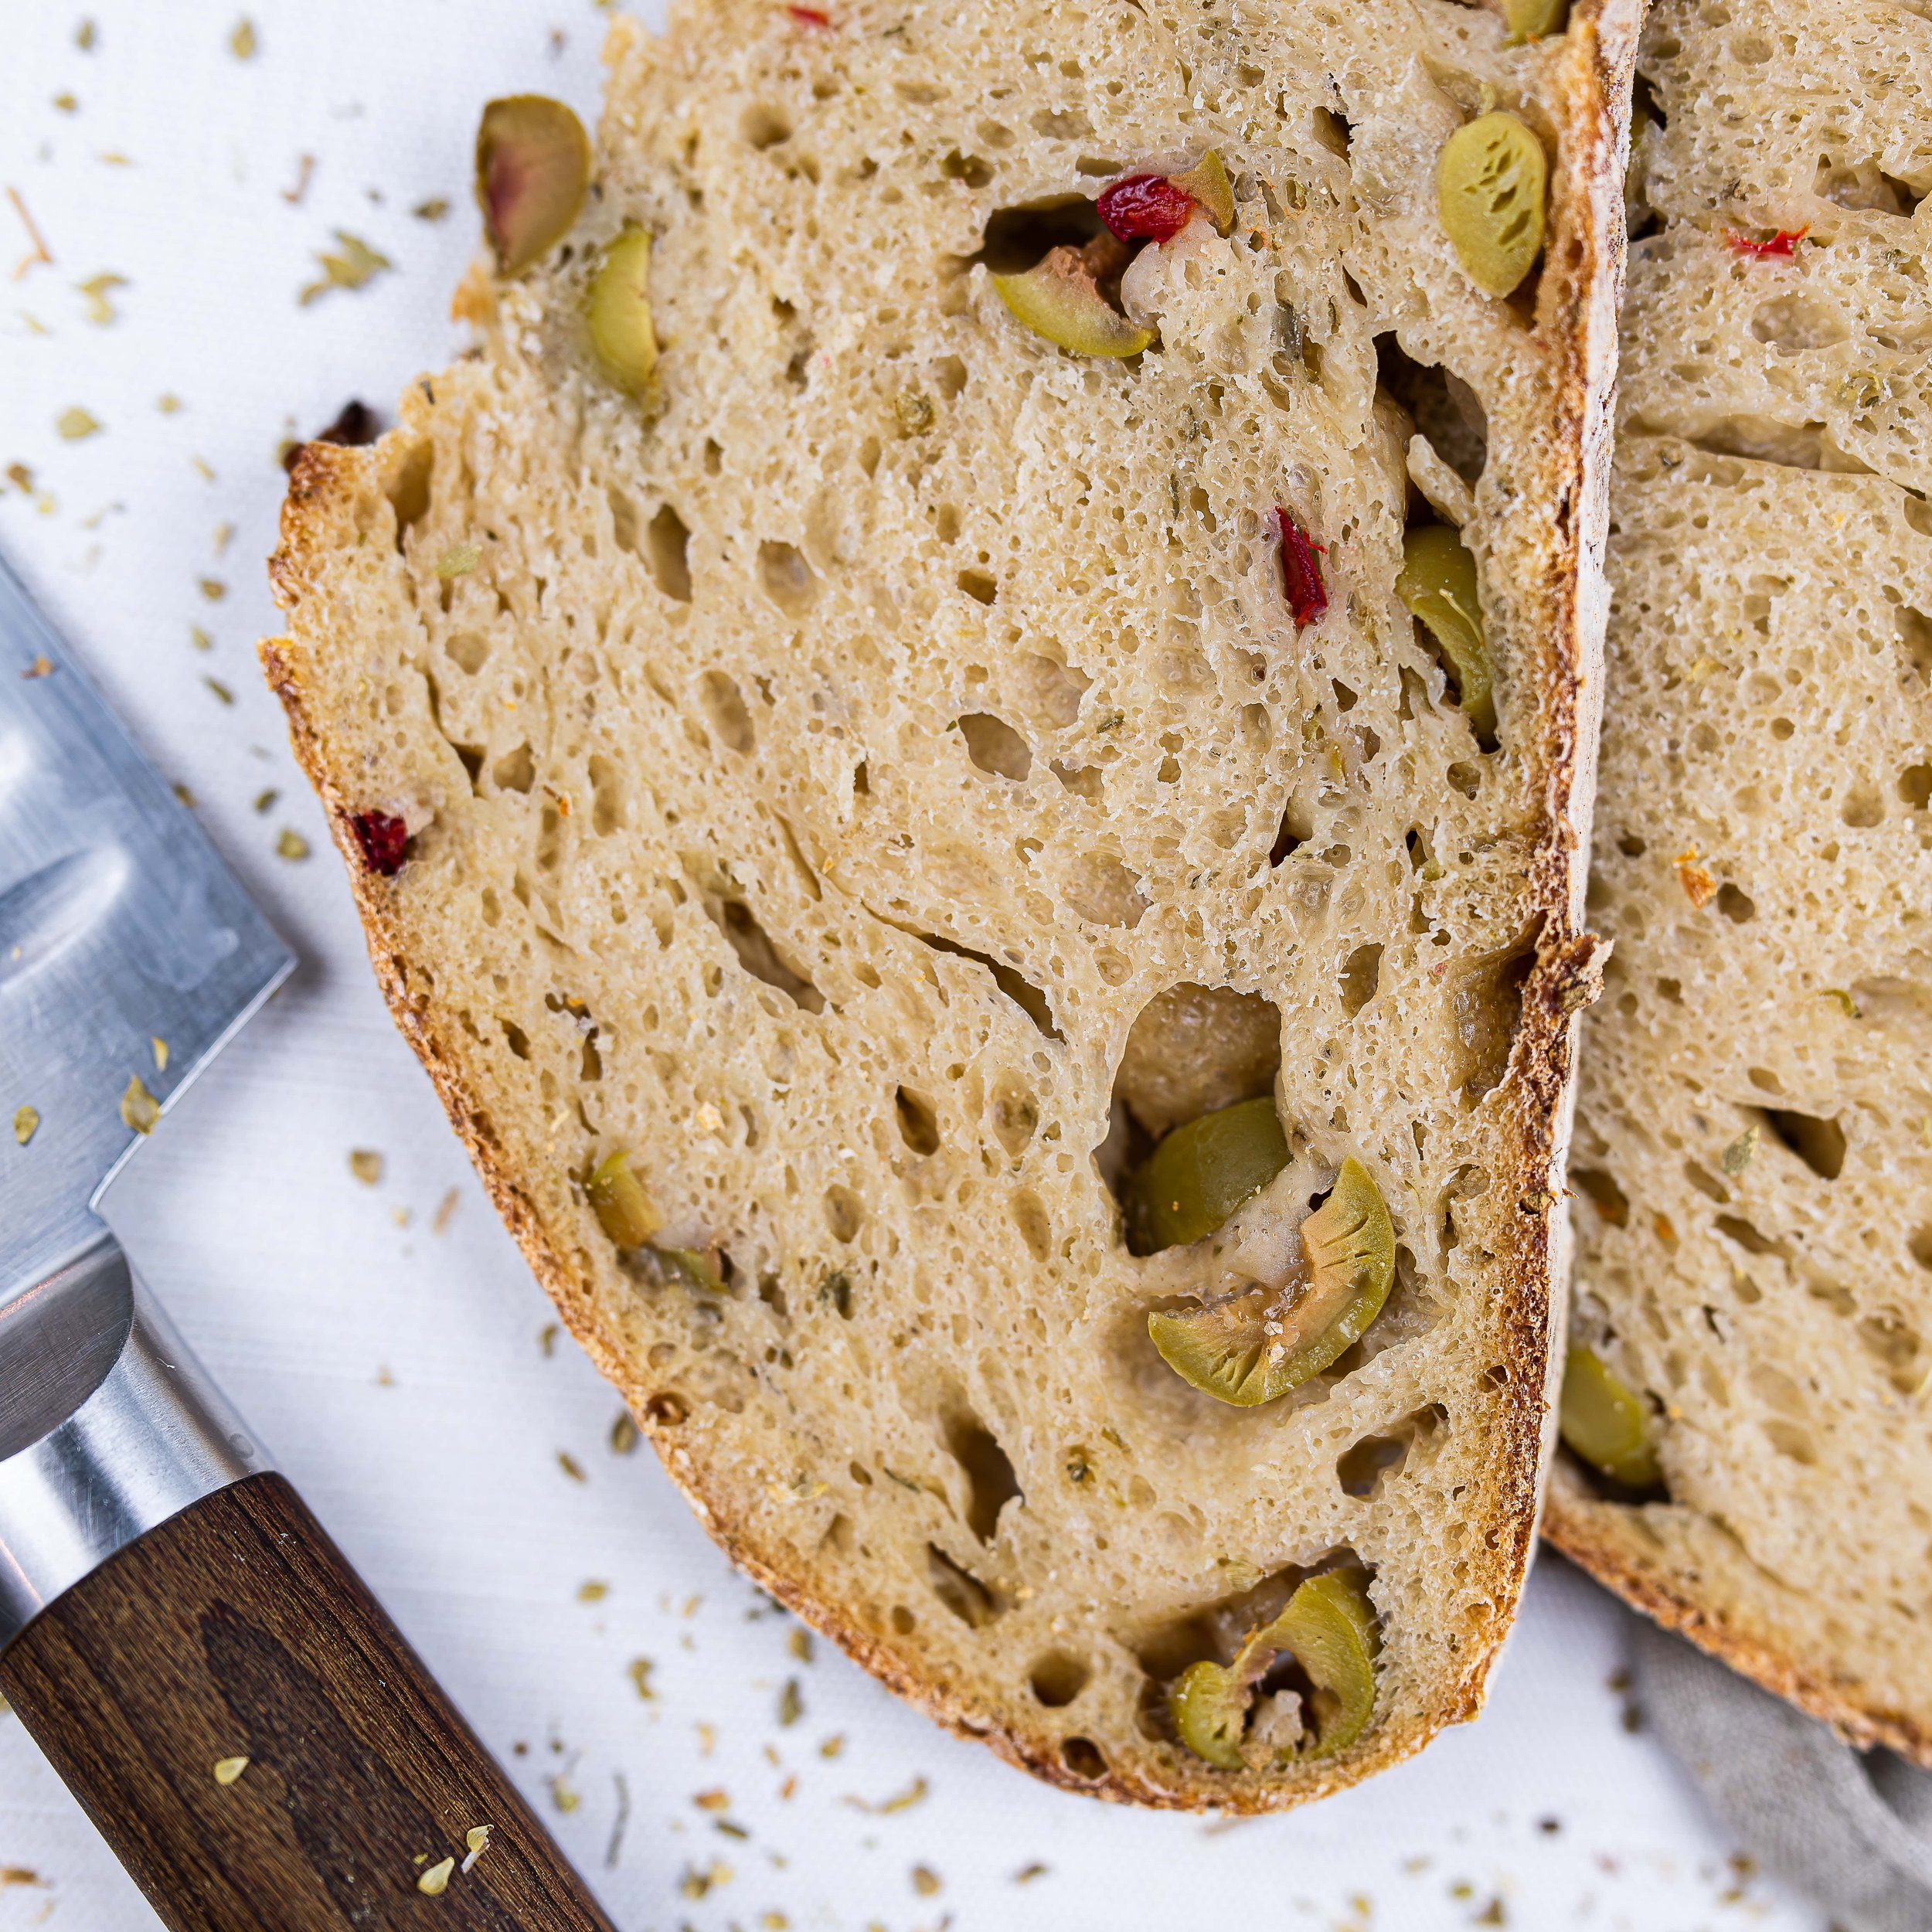
4. If adding inclusions, one extra step you must consider during lamination is achieving a lovely swirl of ingredients inside your crumb. After laminating your dough while it is still stretched thinly, sprinkle over your inclusions before folding it up, as mentioned in step 3. Let it rest for 15 minutes, and then perform one stretch and fold (I prefer coil folds). Let it rest again for 15 minutes, perform a second and last stretch, and fold before moving to step 5 below. That’s it!
5. After 15 minutes, you’ll notice that the glutens have relaxed again, and you can now shape your dough one last time more easily. There is no right or wrong way to do this. Some people do this by cupping their hands and continuously pulling the dough towards them in a candy cane shape until the surface feels tight. Others fold their dough up before rolling it tightly and smoothly.
6. Place the shaped dough smooth side down into a floured banneton and set aside with a tea towel over the dough to rest for 15 more minutes.
Step 3: Resting and Stitching
1. This step is optional, but after 15 minutes, you can stitch the dough by gathering the seams on the top and overlapping them. This will ensure your dough is smooth and tight before baking.
Step 4: Baking and Final Touches
1. Preheat your oven to the recommended temperature for your sourdough recipe. You can also explore all of my sourdough recipes under my Everything Sourdough category.
2. Carefully transfer the dough from the banneton onto a parchment-lined baking sheet or a preheated Dutch oven.
3. Bake the sourdough according to the recipe's instructions, ensuring a golden crust and a fully cooked interior at least 190-210°F when the internal temperature is tested after baking. I have personally never tested the internal temperature of my bread. If you trust the recipe you are following and know your oven is calibrated correctly, you should have no issues.
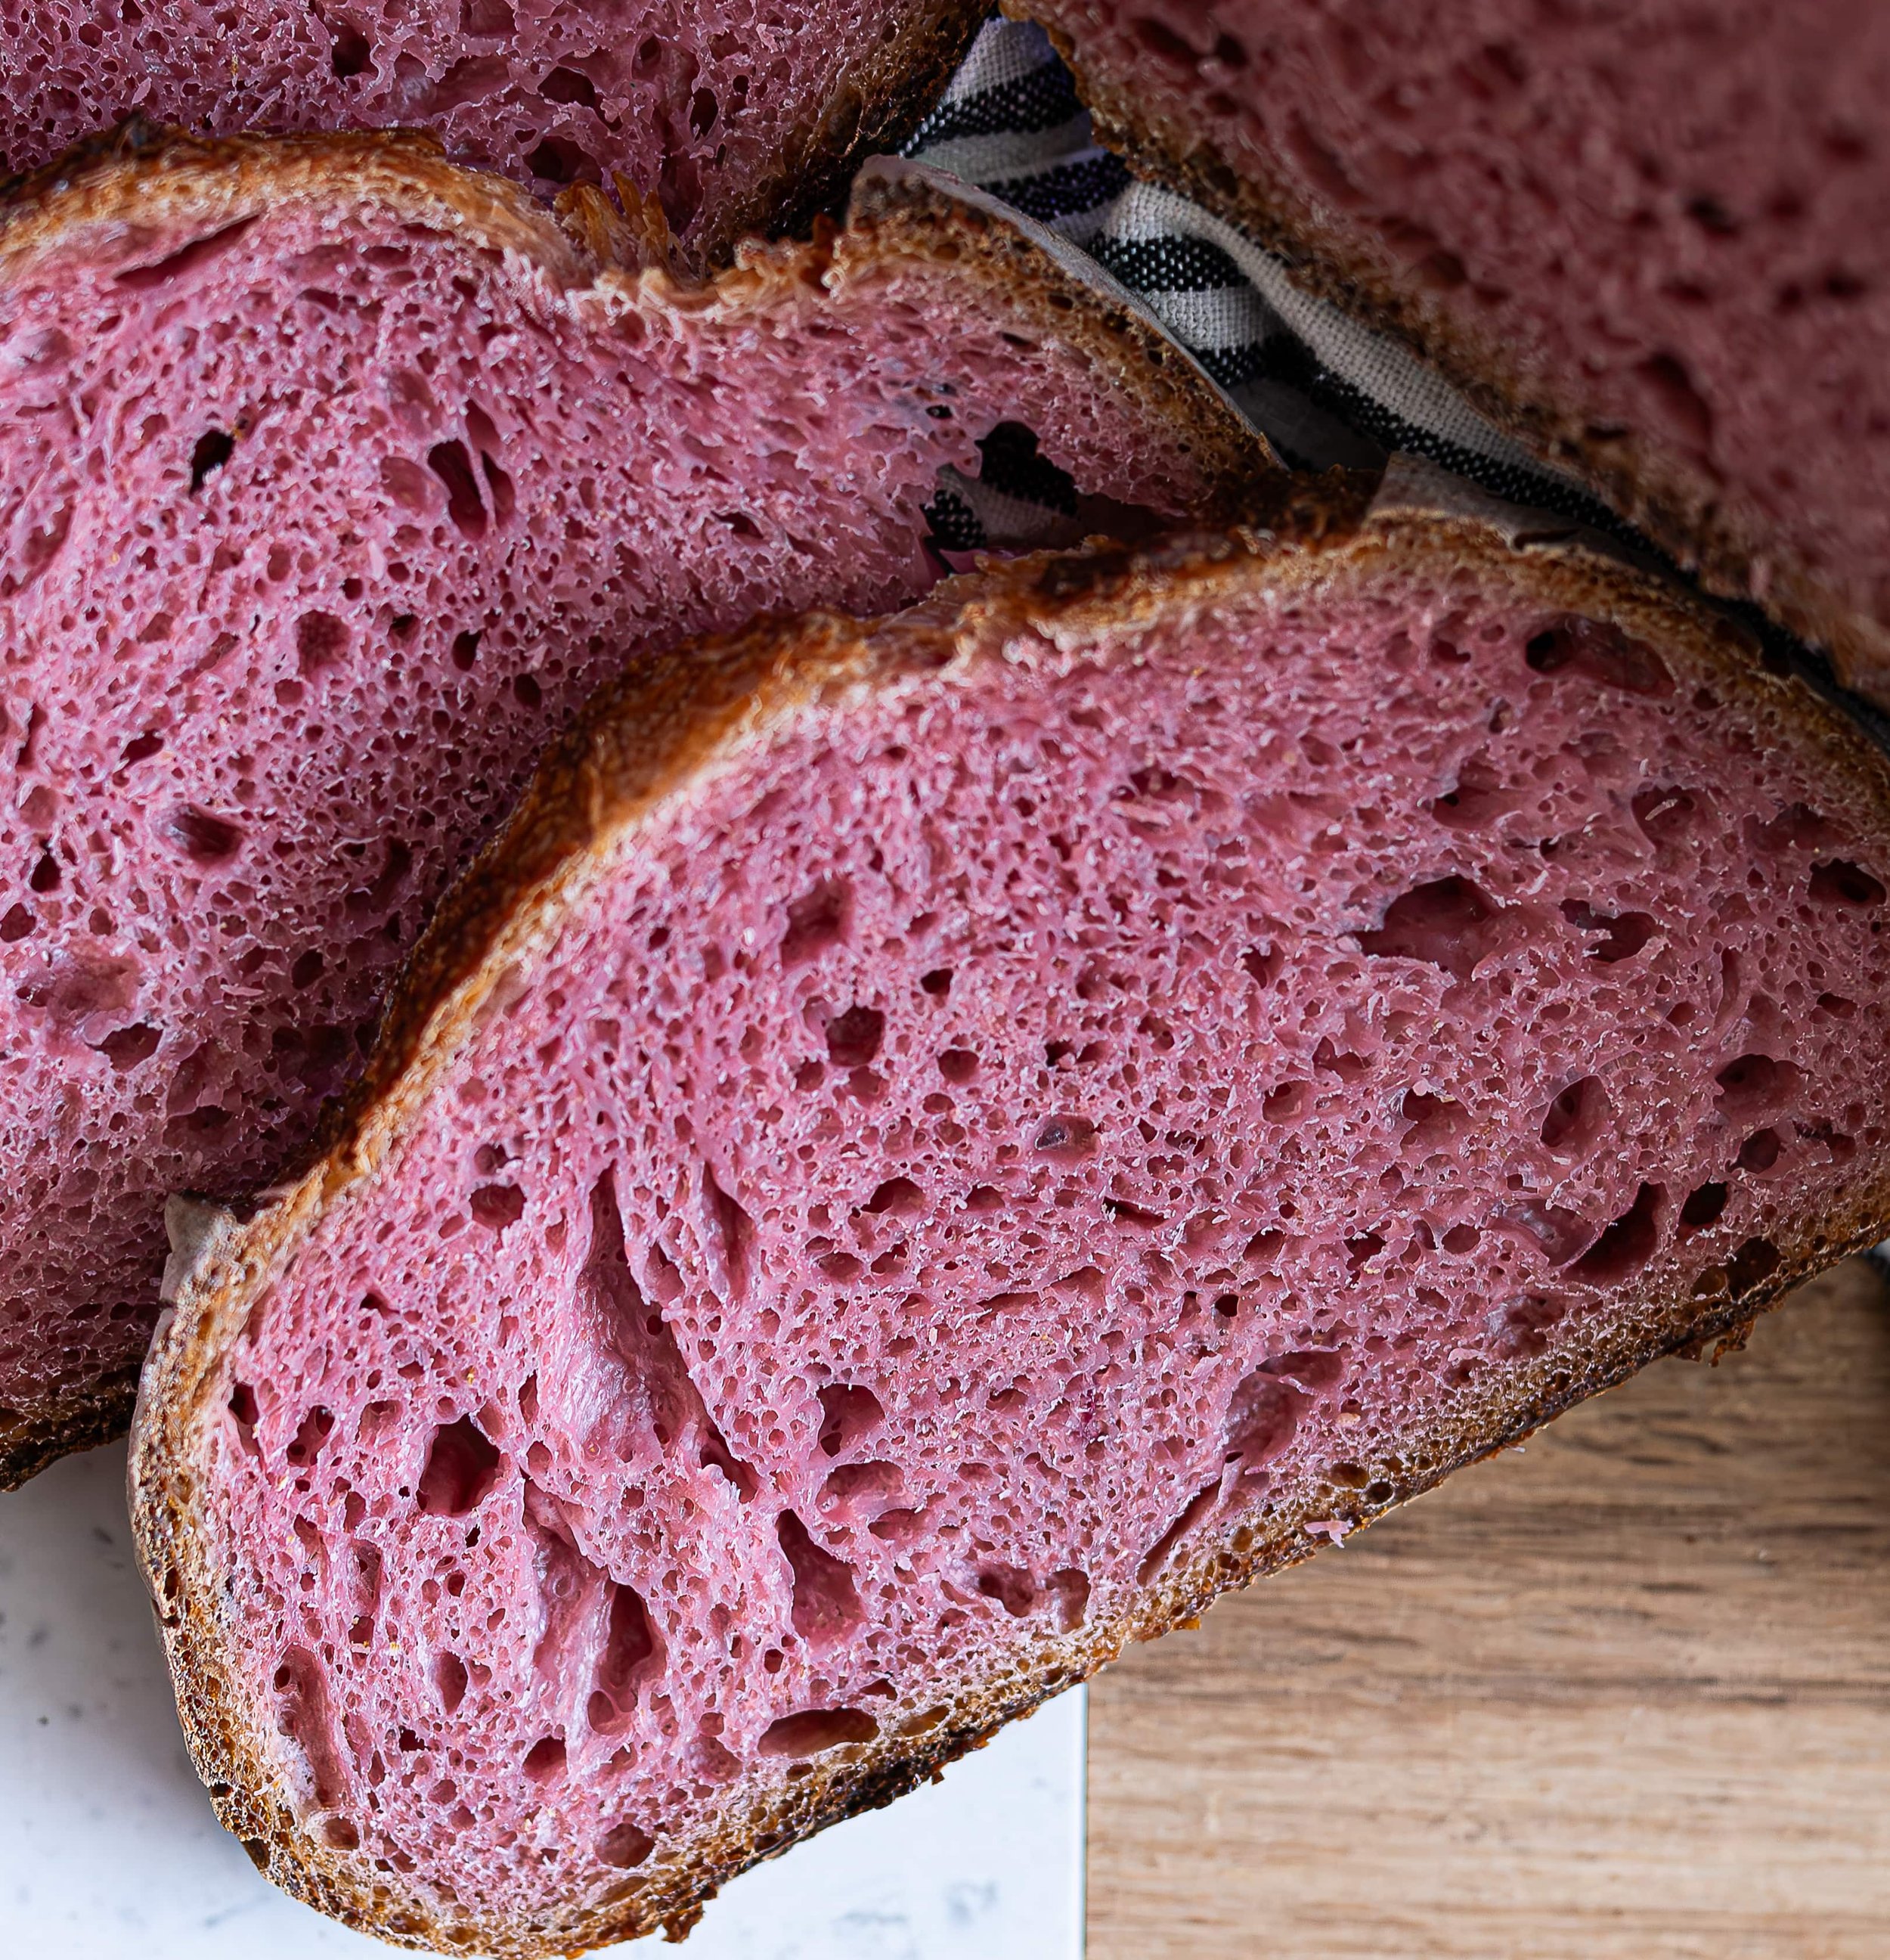
4. Once baked, remove the bread from the oven and let it cool for the rest of the day, if possible, before cutting because the crumb gelatinizes while being baked. Gelatinization is the process by which starch granules absorb water and swell, causing them to thicken and form a gel-like substance. This process is what gives bread its structure and texture. However, if the bread is cut into while it's still hot, the gelatinized starches may not have had a chance to fully set and cool, resulting in a gummy texture. To avoid this issue, it's best to wait until the bread has cooled completely before slicing into it. But let’s be honest, today, as I write this, I cut into my Everyday Sourdough loaf as soon as it came out of the oven and slathered bread on it because that’s life, and it was delicious!


Here’s Why You’ll Love This Method
It is easy on the hands. If you suffer from arthritis or simply just want an easier way to make sourdough, then this method is for you.
As a busy mom who homeschools, I find this method so much easier than babysitting my dough all day, performing endless stretches and folds.
The best part about this method is that you can experiment. For example, if I am having a relaxed day, I will knead my dough in my stand mixer for 5 minutes instead of 10, then do 4 stretch and folds 15 minutes apart after that as I find the process relaxing. Both methods yield the same results.
Explore Trending Recipes


Discover the Magnifique Claypot Oven, the must-have kitchen appliance for busy moms and home cooks! Enjoy healthy, flavorful meals with ease thanks to its modern claypot technology. Save time, simplify meal prep, and elevate your cooking. Find out why this oven is the perfect addition to your kitchen today!